Welcome back! As promised, we are here with the second part of the Crash-proofing series. This time, we will show you how to set up Sentry for the Android platform and some nice-to-have stuff as a bonus.
Let's begin!
Create sentry.properties file inside your Android project’s root folder
Initial setup in Sentry Admin
These are a few things you need to do before implementing Sentry Android SDK.
- Create a new project in Sentry. Give this project some appropriate name like your-project-android
- Then go to Settings → Projects → Your new Project → General Settings

- You should see the name of your project. This is your project_id. In sentry.properties, replace <project_id> with it
- Then go to Organization settings → General Settings, copy your organisation_slug and replace <organisation_slug> inside sentry.properties

- Then go to User and tokens and create new Token. You can add every permission to it for a start but its better to check every permission and decide for yourself what is needed.


- Then copy your new auth token and replace <auth_token> with it inside sentry.properties.Sentry can upload ProGuard mapping files for you and needs this auth token. Ignore this if you don’t care about ProGuard
- Your sentry.properties should be filled now.
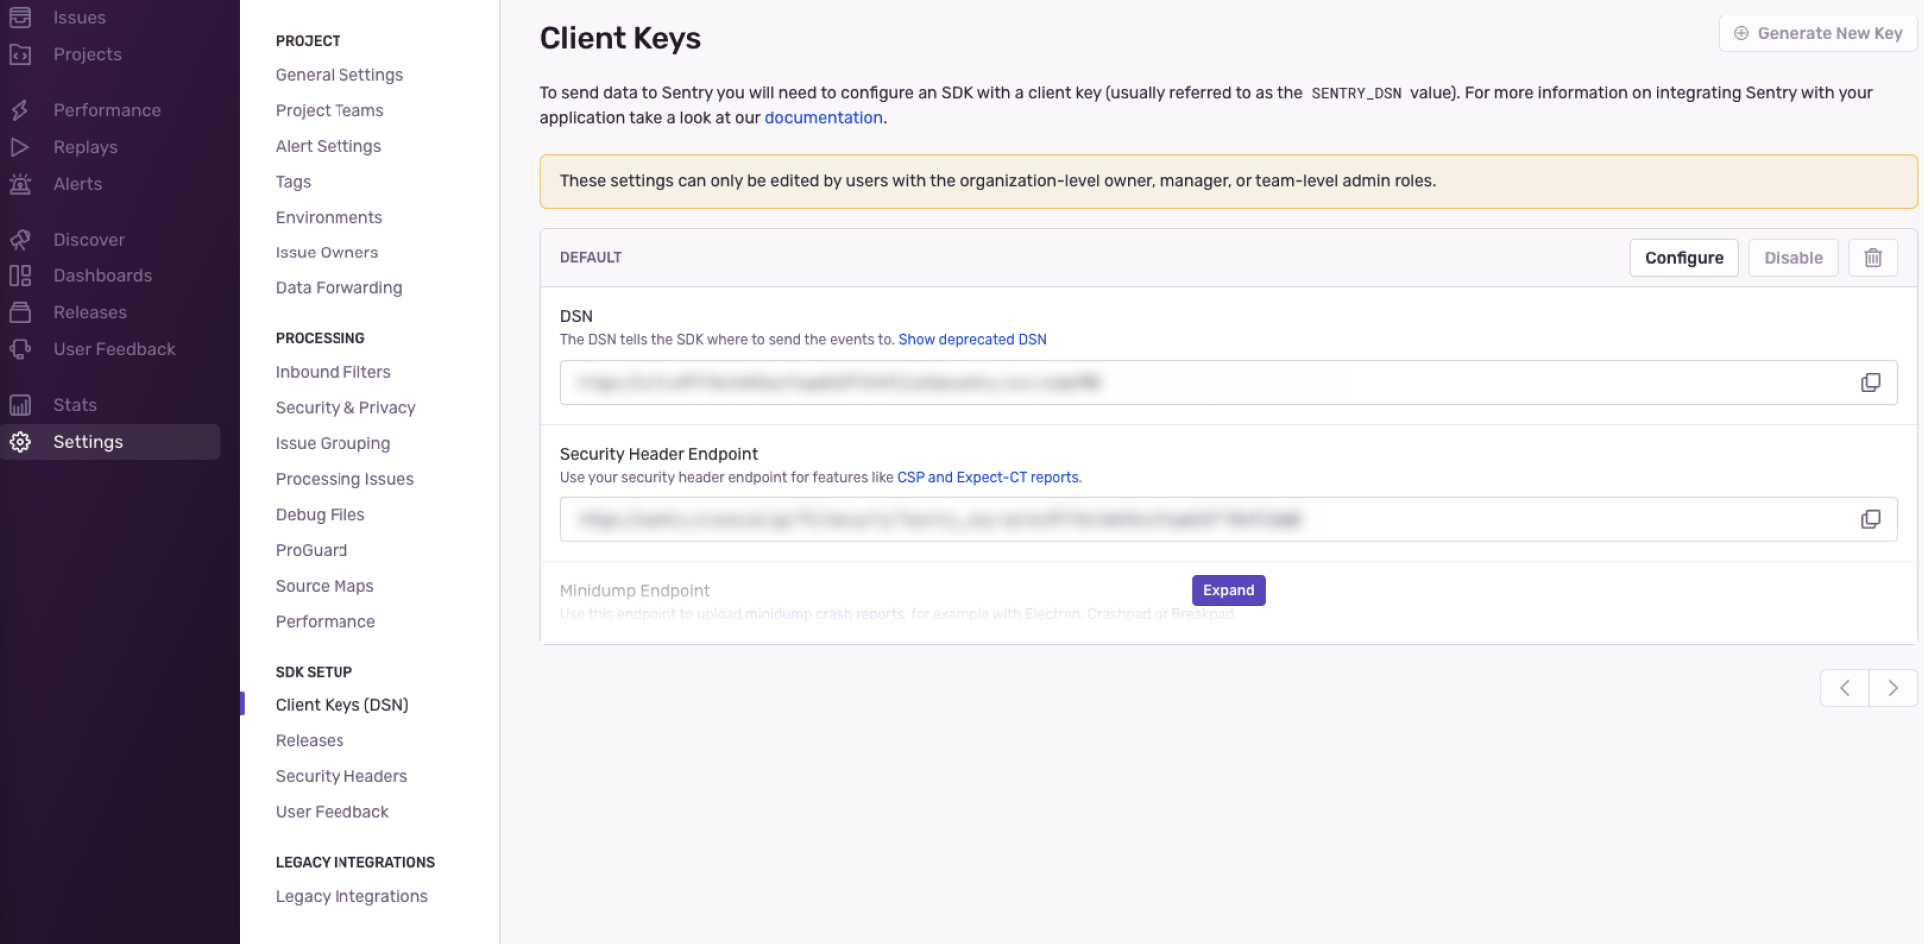
- Then go to Settings → Projects → Your new Project → Client Key (DSN)
- Get your DSN link and save it somewhere for now.
- Now you can return to your Android Project
Adding sentry to project
A full tutorial is on this page. Sentry can set itself with a command, but if you prefer a manual approach or have problems, follow the instructions below or this page. Sentry will also give you a direct link for setup in Android Studio (https://sentry.io/organizations/XXX/projects/YYY/getting-started/)
- Add this to your main module build.gradle
- Open your application class and initiate Sentry
Let’s explore what each line does:
This line applies the environment to the issue. If you use several build flavors like development and production, you can then easily filter specific flavors.
These lines set the percentage value of how many traces to log. 100% means everything is logged. It’s not recommended to collect everything in a production environment; however, e.g., on development, it’s a good thing since testers could find bugs. In our example, we set the percentage on the release version to 10%.
- Open your AndroidManifest.xml file inside your main module and insert this

If you don’t want to use CI/CD and just hardcode your DSN, replace ${sentryDsnUrl} with your collected DSN link.
- Open app’s build.gradle and setup DSN there as well
- Add Sentry gradle plugin to project
This code enables sentry gradle plugin. This prepares scripts for your convenience like uploading aab to sentry with proguard mapping files.
Nice things to know
Assign someone to new issue
Every issue in Sentry can be assigned to someone and you can do that manually or automatically with rules.


Create Jira issue directly from Sentry
If you setup the Jira integration mentioned in the previous article, Sentry enables you to quickly and easily create Jira issues from the issue itself.

Discover page
Discover page let’s you quickly query in all yours collected data so you can answer analytics questions or analyse potential health issues in your project. You can use predefined queries or create, edit and delete your own queries. It’s really powerful tool but it’s limited only to Trial and Business Plan.

Pluggins for Sentry
Sentry for Android offers plugins which let’s you automatically collect more specific data. For example:
Some stuff like Android Fragments, okHttp events and logcat are already logged automatically from Sentry version 3.1.0.
In order to disable them, change the sentry config in the project’s build.gradle.
OkHttp plugin
Like said above, from Sentry 3.1.0, Sentry will automatically log OkHttp event via manipulating your final bytecode and inserting SentryOkHttpInterceptor. This will create breadcrumbs which would look like this:

If you use Sentry 3.11.0+, Sentry will also insert SentryOkHttpEventListener which will log even more data from http requests. Everything will be logged with logcat:

Thank you for diving into the second part of our series. If you have any questions, feel free to catch up or reach out.


.jpg)